

But there were The Chairs.
The Chairs had lived with Jake since 1999, and were the very definition of institutional-chic. Like, they looked like they belonged in a hospital waiting room, which is not exactly the look anyone is really going for in their home. Except for a 19-year-old college boy, who may-or-may-not have gotten them extremely inexpensively.
And so they were sequestered to our bedroom, buried under laundry and piles of books, and only sat upon if both of us were putting our shoes on at the same time, and someone needed a surface to perch on for a second. In the midst of The Great Purge, I decided that there was no way these chairs were moving to Michigan with us. I hated them: I hated the color of the wood, I hated the look and feel of the upholstery. There was no way these chairs were getting loaded onto a moving van and getting shipped 800 miles away, just to get buried again.
Unless I made them different chairs.
The practically-free status of these chairs made them perfect candidates for experimentation. I figured, I could teach myself upholstery and painting/staining (via Pinterest, of course!) and if they turned out looking awful, well, I wouldn't have sunk a lot of money into them, right? So, I set off to research, as is my wont.

Next, of course, I had to choose the fabric for the upholstery. After far too many hours browsing on Fabric.com, I finally bought five samples. Five minutes with my mini-consultant after I got the shipment, and I had chosen Premier Prints Suzani Summerland/Natural. (No, I don't let The Kid dictate my life, but the boy has an eye for color and pattern!)
Then, I just had to...um...do it. It took me several days, since I could only do so much while (a) I was at home, and (b) The Kid was sleeping or able to help me. And I was seriously proud of the outcome! The pseudo-before/after is at the top of the post, and the how-to is after the jump!
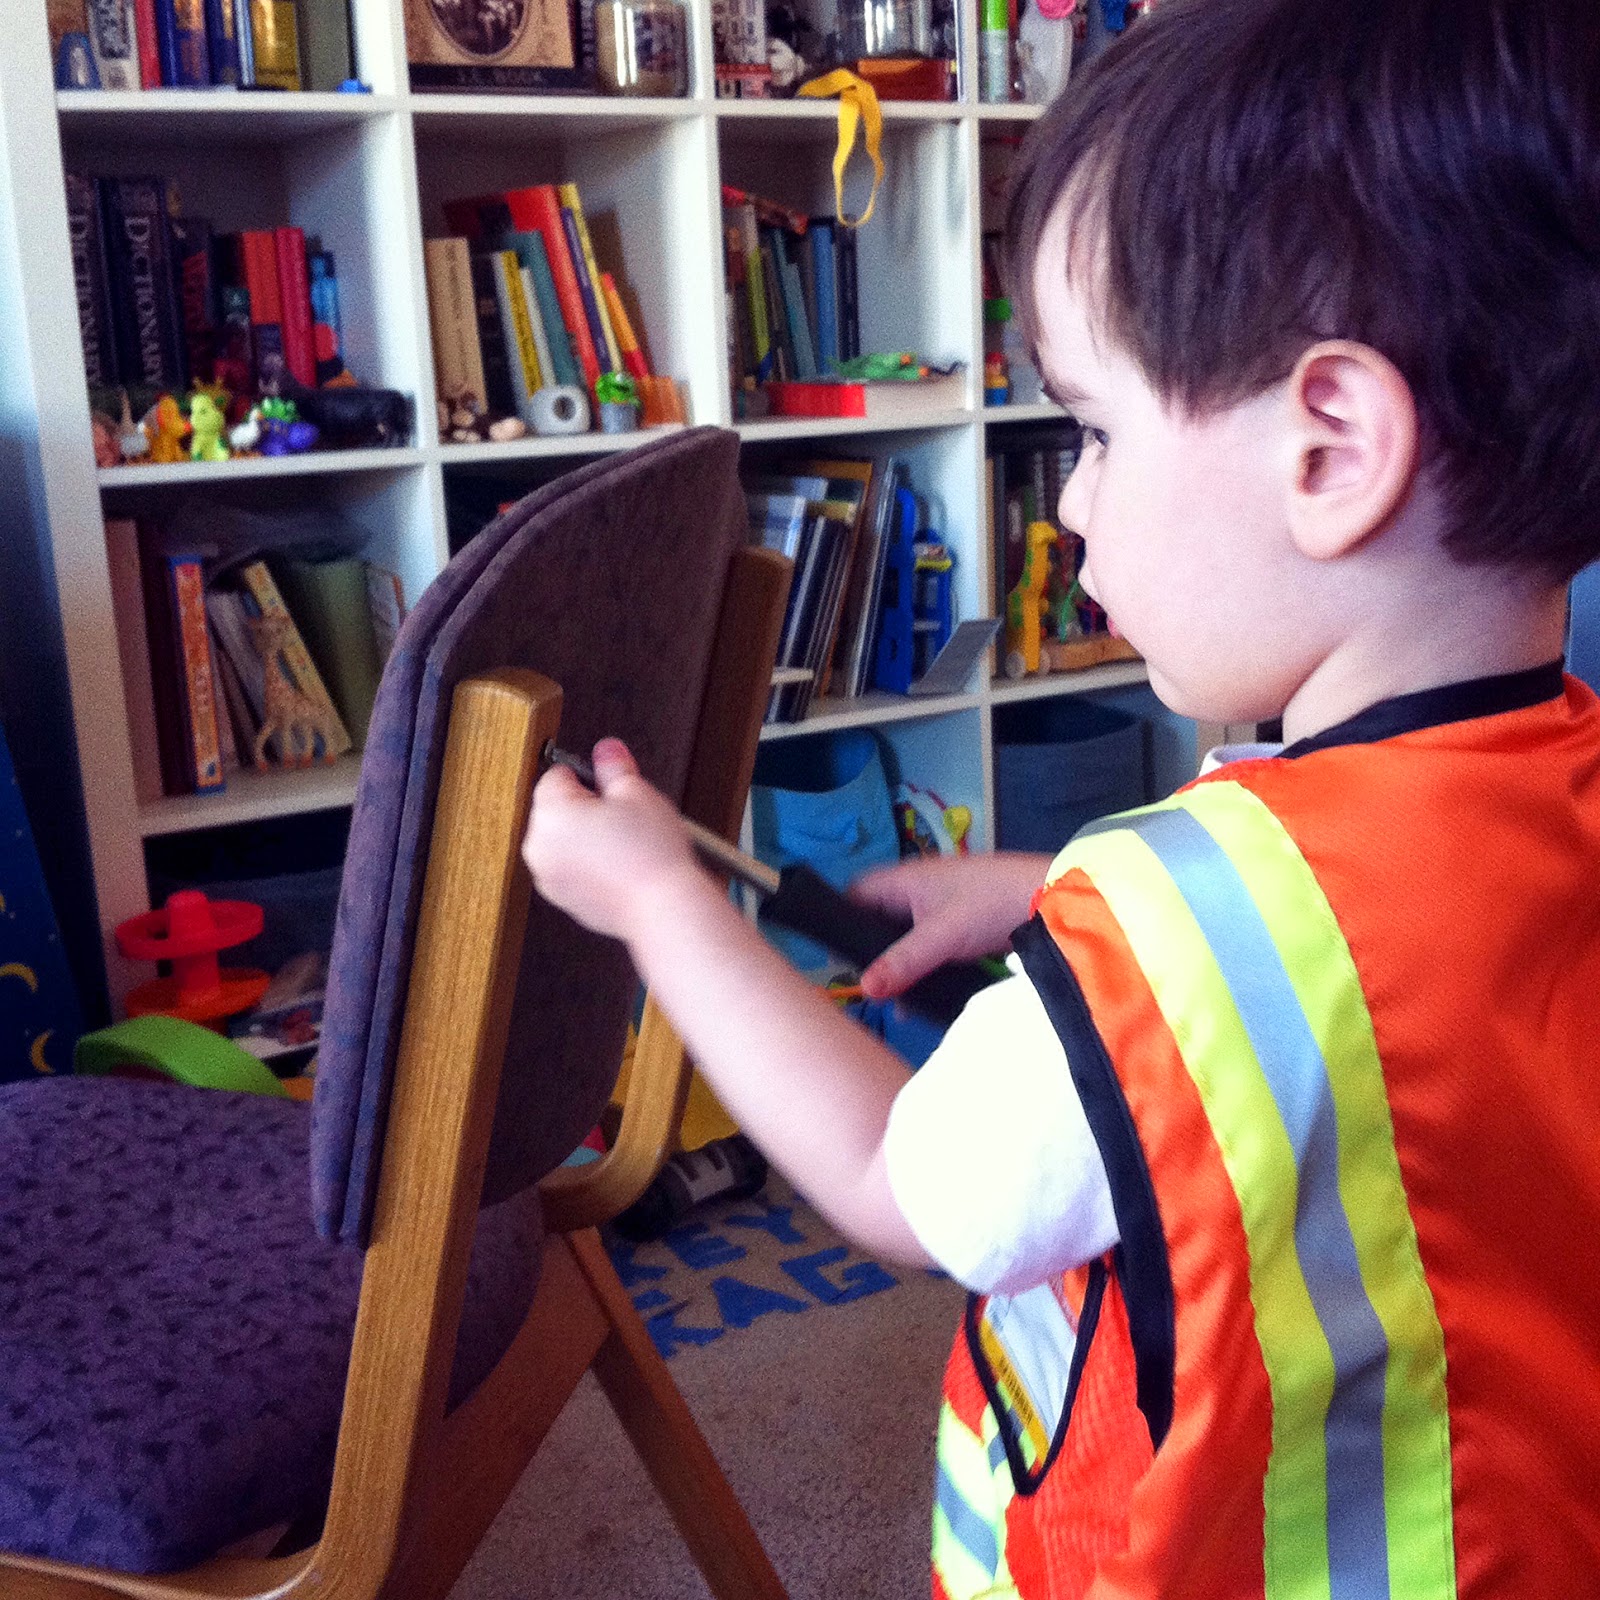

The backrests of these chairs were weirdly in two pieces. That made the reupholstery part easier, but it was unlike anything I'd read about on the Pinterest, so I had to get creative. More on that later.
Sand the existing finish off of your chair. I used two grains of sandpaper, to make sure the finish was completely removed, and the wood was even all over. Wipe the wood down with a damp cloth in between sandings, and after you're done, to get rid of the dust.

Oh, I had to apply the stain in my kitchen--hence the oven in the background of the picture. It's the only room that I can keep the cat out of. You can also see the baby gate on the right side there; it doesn't keep out the baby any more, but the cat doesn't even try to navigate it. If you're doing the same, make sure your exhaust fan is on, as well as any other nearby fans, and that close-by windows are open.

It was important to me that the front of the backrest (the cushioned part where you put your back) was nicely centered on one of the big parts of the design, and that both chairs matched. That part took a while, but it was totally worth it. With a less ostentatious fabric, the centering-and-tracing would probably be easier.


I reattached the backrest with the original screws, which I had put in a labeled baggie. (HOT TIP!) I was really glad that I had made screw holes, especially since I had to figure out how the two pieces of the backrest perfectly fit together. The screws go through the chair's frame, through drilled holes on the back of the backrest, and into threaded holes on the front cushion-y part of the backrest, so the pieces had to fit together just so. It took some work and elbow grease (and a little bit of sweat when I didn't think it was going to happen), but ultimately, it worked out just fine.

After I finished the first chair, and in doing so, learned anything about what I was doing, it was time to tackle the second. It took less time since I kinda-sorta knew what I was doing now, but I apparently hadn't washed the brush 100% correctly, and so the stain got sort of...splattery. No harm, no foul, except I looked like I had contracted a tropical disease for a short while.

And I want a staple gun of my very own.

Reupholstering was a skill my mom (and I'm thinking your mom, too, since she owns a staple gun) honed in the 80s. I don't know why reupholstery was so big back then but I remember thinking Mom was a badass with a staple gun. The chairs look awesome!
ReplyDelete